

This is not intended as advice, medical, legal or otherwise, and is to be used solely for educational purposes. See Program Agreement for further disclaimers and release of liability.
Dear People,
Countless numbers of people have found enormous pain relief, safely, using cannabis. We hear about others who have successfully healed their cancers. To my and the entire industry’s knowledge, no one has ever died from using just cannabis. They might have had a terrible, not-soon-forgotten emergency room experience. But they haven’t died. Before the 1920’s-30’s, it was regularly prescribed in small amounts for pain and nervous disorders by family physicians. In the 30’s it became demonized by the Rockefellers and the nascent pharmaceutical industry, eventually making cannabis so illegal and propagandized as evil, people were jailed for the rest of their lifetimes just for having the tiniest amount in their possession. However, it must be used responsibly and with mindful purpose. Some cancers it might aggravate instead of heal. Some people have allergic reactions of various types using cannabis.
So, you see all the disclaimers scattered around my cannabis topics. I hear you. Many are in so much pain, are desperate for relief, and have been around the medical establishments’ merry-go-round so many times that the disclaimers no longer matter. But here on this site, please know that in any of my cannabis topics as you review them and might start doubting again, hold your despair at bay a bit. I want to let you know that even if cannabis also ends up being not for you, this site is loaded with tons of alternatives that so many others have successfully used to reduce their pains WITHOUT any cannabis at all, or with just the slightest amount one time a day. I so encourage you to continue to explore the rest. Perhaps you too will be one of those truly free from all the drugs! Please give yourself a chance.

The RECIPE
(There are 3 very short videos embedded with the instructions on this page showing the steps to making this).
This simple medicine can be used internally as well as topically if not skin-allergic.
When finished, it looks like greenish and solid coconut oil. Though the instructions will put this initially in the freezer to complete it, it will need to be used at room temp or like a jar of solid coconut oil, it could be rock-hard to scoop out the tiny amounts needed if left in say a fridge.
See How to Dose TCH Cannabis for setting up your tolerance break days off, conditioning your body against side effects and finding your optimal dose amount for using this after it’s finished.
When you first make this, experiment several times by making only a tiny batch using ONE ounce of coconut oil, use a little more than 1 gram of marijuana, a tiny few pieces of a CBD bud. Do this several times until you know you can make the recipe as follows.
PRACTICE.
Marijuana and hemp CBD flower is expensive! So practice several times with only a small amount first.
DO NOT USE A MICROWAVE for any of this! Doing so will even change the molecules of the coconut oil to no longer be healthy for your body.
The optimal goal with this recipe is to control your ingredients as best as you can. If you live in a place that is legal to grow marijuana and/or hemp cannabis, even a minimal amount, your primary goal should be learning how to cleanly, using no toxins grow your own cannabis plants and infuse their medicine into the cleanest, no chemical natural coconut oil you can find.
Also, and this is CRITICAL, with EACH BATCH made, be sure to take 2-3 days in a row and TEST yourself with your homemade medicine against any negative reactions to it you might have.
GO LOW, GO SLOW with your test especially if you think your Recipe is stronger than normal.
Though traditionally, any list of cannabis side effects might apply, some people have an opposite effect of the expected. This is called the paradoxical effect.
In addition, consuming cannabis in an oil based tincture or coconut oil base “butter”, in whatever THC and CBD concentration, might not work with some people’s digestive tract/gut. Hardly any of the cannabinoids AT ALL might end up as medicine in the body if the body can’t digest it out of the oils in the first place.
Professionals recommend any oil based medicines doses therefore, of whatever quantity need to be held in the mouth about 5 minutes and then swallowed, allowing some of the medicine to by-pass the gut.
So only make a tiny amount at first to test it all around on yourself to be sure it works before investing in the expensive plant material and your time to make it into a full batch.
Though this medicine is meant to be eaten, many have found it can also be used as a salve unless they are allergic to it (it’ll be a little greasy from the coconut oil!) So take a few days to test by putting a small amount on the inside of your elbow or your wrist a few times over 2 or 3 days. If your skin starts to redden you could be having an allergic reaction.
If so, people have found it prudent to also test dosing a very small amount by holding it in the mouth a few minutes, maybe just a tiny amount, less than 1/16th of a teaspoon. They do this one time per day for 2-3 days in a row, waiting 24 hours between each dose to be sure nothing irritates the mouth (AND it is said it otherwise needs to be held in the mouth for about 5 minutes anyway and then swallowed as a better way to dose it).
Sometimes people are allergic to anything cannabis when used topically on the skin but can still eat it, inhale/ingest it just fine. But if your skin started to turn red on the initial skin test, be even more careful to notice allergic reactions eating it.
If you have allergic reactions, which can include skin redness, skin rashes, nausea, diarrhea, or jitteriness, breathing problems or any other allergic or alarming sensation when you are after a relaxed sensation, STOP taking the medicine.
In fact always also test anything commercial you purchase to try.
Some people are allergic to cannabis in general, allergic to a particular location where the plant was grown (if the grower used pesticides or glyphosate-laced soils or nutrients people can be allergic to those items too). People can have allergic reactions if the product has preservatives, chemical sweeteners or stabilizers which can also be allergenic.
If you have an allergic reaction to this Recipe, and have never been allergic to coconut oil before, some believe you can first take the coconut oil you are using and run your test as above with NO cannabis in it to see if you might even be allergic to new coconut oil.
If there is no allergy to the coconut oil, then make a different batch of the Recipe but using a different cannabis plant from a different dispensary.
Just make a very small amount of it again and do your testing again carefully ONLY IF YOU BELIEVE YOU ARE SAFE trying again.
If needed, you can even split out your cannabis plants and make the recipe only with the CBD-rich hemp plant you got. And then singly with the THC-rich marijuana plant you got.
Maybe the cannabis plant flower you purchased has some toxin on it that you are reacting to.
But once you are all clear, this Recipe will be the medicine with the least variables, least ingredients and you will have the most control you can over these ingredients and the making of them, especially if legal, when you can also grow your own plants.
So with this Recipe, once you have this process down, you can also make partial batches if you calculate your splits correctly. But I think the most efficient use is to use the quantities below and keep extra of the finished medicine in your freezer until you’re ready to use a new jar full.
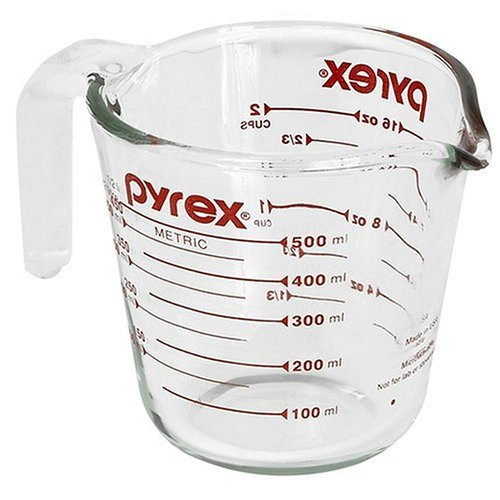
Making more than this amount at one time gets a little messy, you obviously need to use more plant material, and also the infusing measuring cups might not fit in the toaster oven with the temperature probe correctly having room to stick out.
But in my toaster oven, my 2 cup glass measure cup still fits with the probe out the top.
So I have made it with 11 oz. melted coconut oil, 13 grams THC-rich plant and 4 grams CBD-rich hemp plant.
The calculation is that for every gram of marijuana plant use .85 oz. of melted coconut oil. The CBD hemp plant can be adjusted up a bit and the CBD is not as critical as the THC to get right in this ratio. Just don’t use too much CBD if you are wanting the formula to help you sleep.
The strength of the medicine will be approximate for about 4-5 mg THC and about 1-2 mg CBD per 1/8th teaspoon dose if made with the following quantities:
Gather your cannabis medicine making equipment
8.5 oz. melted coconut oil (NOT MCT)
10 grams marijuana THC cannabis bud flowers with at least 15% THC
3 grams hemp CBD cannabis bud flowers with at least 15% CBD
See below, as well on the Recipe Equipment page for a short video on how to weigh your cannabis plant material.
Glass containers for about 8 oz. of medicine. Small 1-cup, or 4 oz, or 2 oz. etc. glass jars contain LESS than the measure on their marketing box because they are marketed with the contents as measured filling the glasses completely to the very top-top of the jar. You want a bit of space at the top so your medicine doesn’t spill. So for 8 oz. you can put it into two 1-cup jars, or 3 of the 4-oz. etc. or mix and match.
You will have about 8 oz. left after straining even though you started with 8.5 oz of melted oil because some of the oil invariably stays in the plant after the straining, filtering step no matter how hard you squeeze out the final drops.
Some notes first:
** Decarb or decarbing is short for decarboxylation. At certain temperatures and for a certain amount of time, the trichomes on a cannabis flower bud loose some of their carbon dioxide and change their THCA and CBDA chemicals from acids into the THC and CBD cannabinoids we know that are active for use in our bodies. Without this first decarb activation, that happens either by hand heating it some way, or heating it by smoking it in a pipe, a vaporizer or joint, your body would not be able to utilize the medicine (and you wouldn’t get high).
- You will need high quality marijuana cannabis bud flowers with at least 15-16% THC. If you have a THC plant with a higher percentage of THC, that’s great. Just know your medicine per dose will be a bit stronger.
 The final strength can always be tested with a testing kit for more exact readings. The strain type is not at all important, that will not matter at all. Strains grow according to their genetics with different percentages and quantities of the cannabinoids in them—but also the strains grow with different types of terpenes in the trichomes (which cause the particular smell or scent of any particular strain and create different effects along with the difference in cannabinoid makeup). This recipe includes heating the cannabis twice. Upon even the first heating, all the terpenes will be evaporated. So you are wanting the cannabinoids, and more specifically the % of THC and/or CBD. And the terpenes will not be a factor.
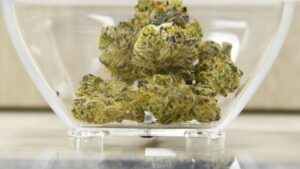
Just look for the highest quality, (not moldy or all dried out, bring a little magnifier with you to the shop) freshest bud possible with at least about 15% THC in it. Buy this from a highly trustworthy dispensary to start. Later you can use your homegrown. Ask for whatever is the freshest 15% THC or better marijuana bud flower they have in stock in your quantity.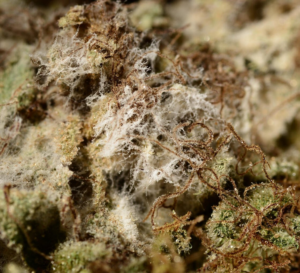 The strain and what qualities it has or hasn’t (and that it’s not moldy…moldy DOES MATTER, take your UV light with you to the dispensary, see the notes on the Recipe Equipment article) and whether its alerting or sedating doesn’t matter AT ALL when infusing it, those things only matter when you are inhaling it. That discussion on inhaling is on another page.
- You will also need high quality hemp cannabis bud flower with about 15-16% CBD. The strain does not at all matter. As a note, high quality hemp CBD flower LOOKS EXACTLY like marijuana THC flower. Both might or not have narrow leaves or wide, both will have trichomes, sugar leaves, pistils and cured the same way etc. You want the CBD percentage of cannabinoid to be high but again the terpenes don’t matter with this recipe. You can even purchase the much less expensive “smalls buds” if the grower tells you they test the same percentage for CBD. This is the only place I purchase mine. I like the “Suver Haze” inexpensive “smalls” 1 ounce (a little more than about 28 grams) version.
- Find high quality natural coconut oil (NOT MCT). This is the version I like.
- Find time: First, find 2 or 3 hours of time to do the decarb process.
 The timing is DIFFERENT for the marijuana cannabis and for the hemp cannabis. The two plant types will be infused together, but they MUST be decarbed SEPARATELY as they each use a different temperature and timing to activate each. I like to do my decarb flower prep the day or week before I infuse it. You will not need to give all your attention to watching this process after you’ve done it a couple times. It’s mostly about weighing, preheating, putting the plant in the box, setting the timer and going and doing other things (don’t leave the house though, you will need to watch out the side of your eyes for something cooking).
 - And then find time early in the day (about 6 hours total), or on a new day, to set the infusion for a 2-3 hour infusion in the toaster oven. The time needed is not time needed to give close attention, only to be around to turn off, put something in, and when it’s infusing, just to be around because you will have something heating. And you need a few hours for it to cool down BUT DON’T LEAVE INFUSED COCONUT OIL SIT OVERNIGHT or to get too cold during the day without straining it.
- You DO NOT want your coconut oil cooling infusion to sit overnight or even during the day if there is even a slight chance it will solidify, which it will do with any temp under 76 degrees. If the mixture begins even so slightly to solidify, you will not be able to properly filter and strain it. And if you heat it up again to strain it, much of your THC will convert to CBN. Which is ok if you want something HIGHLY and STRONGLY sedative (and stinky!). So start your process in the morning while you’re doing other things during the day so at the end of the day you can strain and filter correctly without reheating. And you also don’t want this to be sitting in a warm crock pot for hours overnight either. The THC will degrade to CBN being cooked that long, even on low.
- You need maybe half an hour at the end to strain and
 filter it into usable jars that you will immediately set in a stable location on a freezer shelf until hard. I suggest you set a pot holder or cloth on a glass freezer shelf to put your warm filled glasses on. If you have glass freezer shelves, your jar might still be slightly warm and you don’t want anything to crack.
 - When you go to use your medicine, take it out of the freezer for awhile (and again, sit your frozen jar onto a pot holder or cloth so the jar doesn’t crack against a granite or otherwise cold countertop reacting with frozen glass). But you want to set it out before use so it’s not rock hard. The jar you are using daily for your medicine should be left out then at room temp of 76 degrees or less and stored in a DARK place, AWAY FROM any heat source. So don’t set it in a cabinet near hot water plumbing, or in a cabinet near a stove or heating element for example. If it’s left in the fridge it will be too hard to easily scoop out to use.
- Keep your bare hands out of the finished medicine jar and always use a clean utensil to dose even if scooping some to use topically.

You will want to keep your fingers and hands completely out of the final medicine. Indeed, even when it’s finished and you are consuming it off a spoon or to use some externally, you want to always use a clean utensil to scoop a bit out. Cannabis reacts with our skin immediately and you could change the nature of your medicine left in the jar if you start adding fingers.
Cannabis is such an efficient anti-inflammatory and to some extent anti-bacterial, that it starts changing some of it’s cannabinoids if you keep putting your fingers, skin in your final medicine. As well it reacts immediately with temperature– and even if your fingers are “cold”, it’s enough to change your cannabis medicine compounds.
I think some of the cannabinoids just get “spent” after interacting with skin and others, some or all of the THC no matter if it’s the .3% of a CBD plant or more that’s part of the marijuana cannabis plant, you could change into CBN, a major sedative as well your medicine could start getting stinky.
So do what you can to keep your fingers out of your medicine jar. Use nitrile or vinyl gloves to work with it.
DIRECTIONS:
Weigh out both your THC and CBD plant material SEPARATELY and keep them separate. The video below shows how to use the gram scale or you can view it on the Recipe Equipment page.
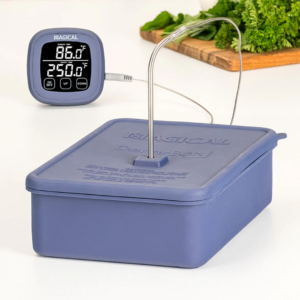
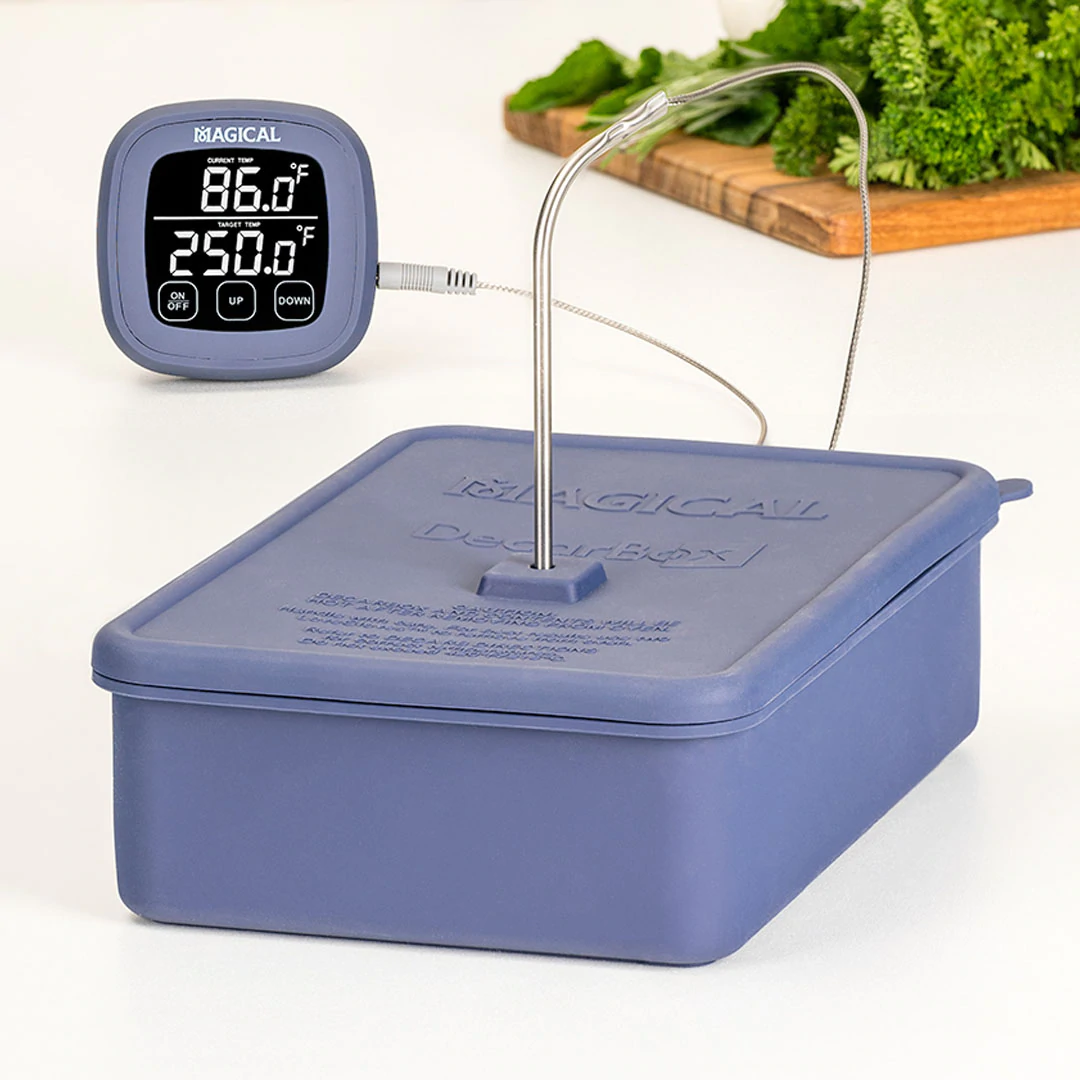
Use the temp probe that comes with your decarb box to test and calibrate your toaster oven temperature settings of 280 degrees, 250 degrees, 220 and 210 degrees.
The toaster oven should register and hold steady whatever temp is set on the knob to the temp in the oven and not vary by more than 5 degrees or so up or down once the oven reaches the set temperature.
A standard kitchen oven is NOT good to make your medicine. Though it might hold the set temperatures for bread or a casserole beautifully, by its nature it fluctuates too widely to use it for your precision cannabis medicine.
While a toaster oven might fluctuate 5-10 degrees if that, a regular stove oven can fluctuate 25-35 degrees as it’s regulating. Its construction holds heat differently. DO NOT USE A STANDARD OVEN if you can help it or you will lose a lot of your medicine.
In addition, I do NOT recommend purchasing and using any kind of solo air fryer, including expensive, higher-end ones to make your medicine.
Those air fryers that are toaster ovens advertised as also air fryers have “bake” settings and are ok if they are big enough to hold the decarb box correctly.
You can do some temperature tests if you already have some kind of air fryer and/or air fryer-toaster oven, and see how much it fluctuates at 220, 250, 280 degrees. If it stays stable and fits the decarb box height-wise, it could work.
However, I have found the solo air fryers to also fluctuate 15-25 degrees from any set temps.
And besides the temps NOT being stable in the air fryers I’ve tried, the blowing air circulation has always been too strong for the infusing portion because the blowing air often dislodges the aluminum foil wrapped topper of the infusion.
So if you want to do a trial run with (using no actual ingredients) one you already have, use a couple of different oven temperature gauges and/or probes to see how steady the temps stay.
AND, run it at your temp with the fryer air blowing, put in your empty glass measure cup you want to use for the infusing step with the foil wrapped over the top and see if it stays on.
I like my toaster oven! See the equipment article for the Recipe for more about this.
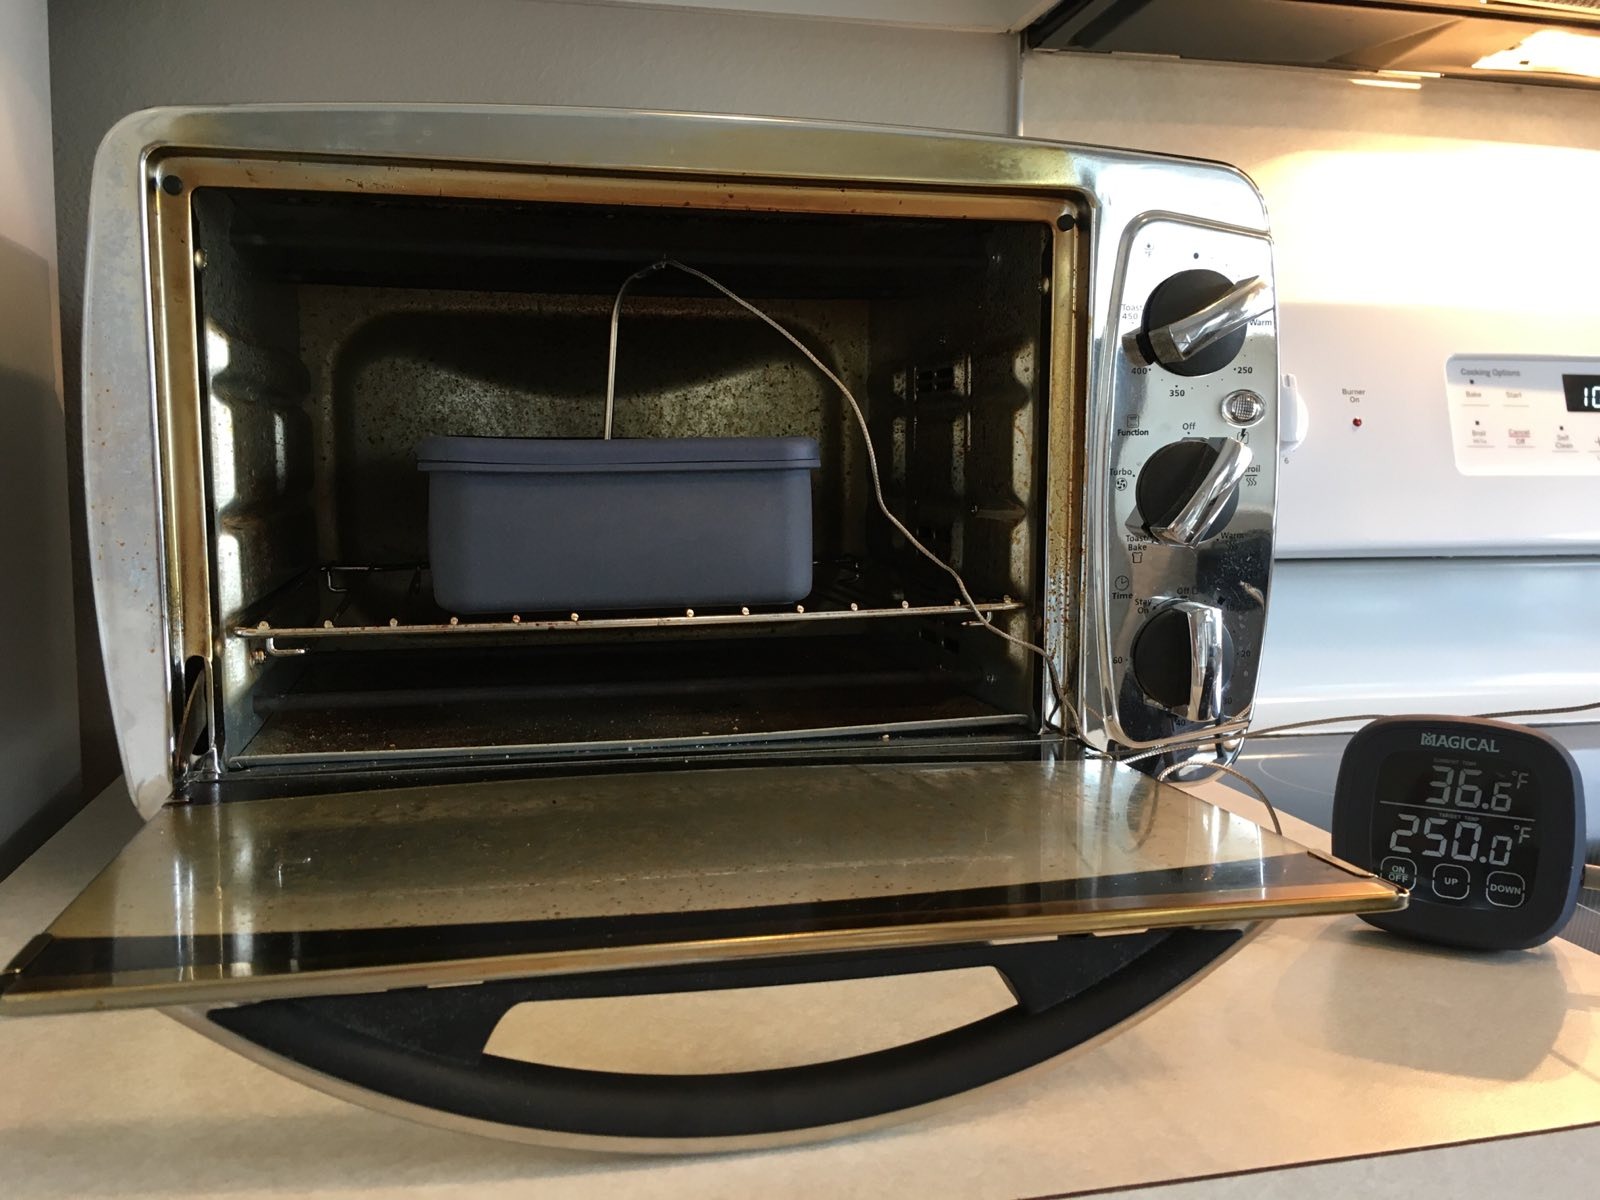
Best to also use the decarb box in the toaster oven to do this decarbing. People have just tried to decarb cannabis by spreading it on a cookie sheet in the oven, but doing it like this can lose you up to half of the medicine in the plants. And your entire house will smell very fragrant of cannabis! The box mentioned in the list is cheap, about $50. And as a benefit it does contain a LOT of the scent.
This decarb step can be done ahead— a day ahead, a week ahead, etc. Just close up your decarbed and cool plant material into a mason jar until ready to use. Be sure to store each plant TYPE separately after decarb and label the mason jar if it will be awhile before you infuse it.
You will be doing this step TWICE each time, once for the marijuana and once for the CBD hemp. Twice pre-heating, twice running the decarb at the temp specified for each.
Below is a short 6 minute video showing the decarb step. As a note, I forgot to mention that the pre-heating at the beginning is with a completely EMPTY decarb box. After the pre-heat, then add the cut up plant material.
Use the directions in your decarb box by letting the box PRE-HEAT EMPTY and closed in the oven to within 10 degrees of the wanted temp and THEN adding the cut up bud to the box.
Put the decarb box with the bud and temp probe back in the toaster over and wait for it to get to the correct temp AND THEN start your count-down to how long to leave it.
You will be decarbing separately the CBD hemp flower and the THC marijuana flower.
Start with the CBD as it takes longer. With the decarb box lid on and the temp probe in it and the gauge sitting on the counter outside the oven and the oven door closed, pre-heat the empty box to 280 degrees.
NOTE that the inside box temp is different than the oven temp setting. You want to measure the INSIDE THE DECARB BOX temp for all the heat and timing. So once you calibrate and know your oven is stable, you might have to turn up the heat just slightly so the inside of the decarb box gets to your 280 degrees and not the inside of the oven.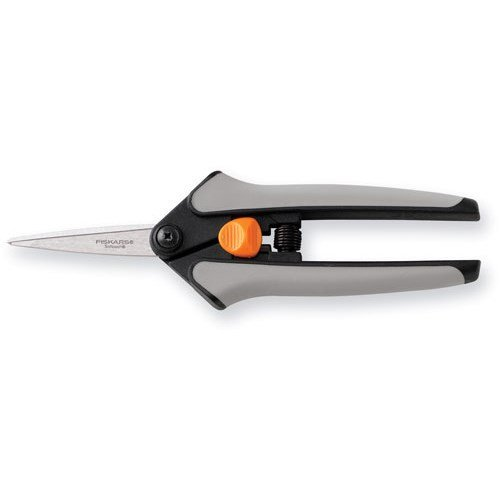
While the box is warming up, use your micro-tip scissors and slightly cut up your bud you have in a small bowl that you weighed out on your gram scale. It should be only loosely cut up, no need for really fine cuts.
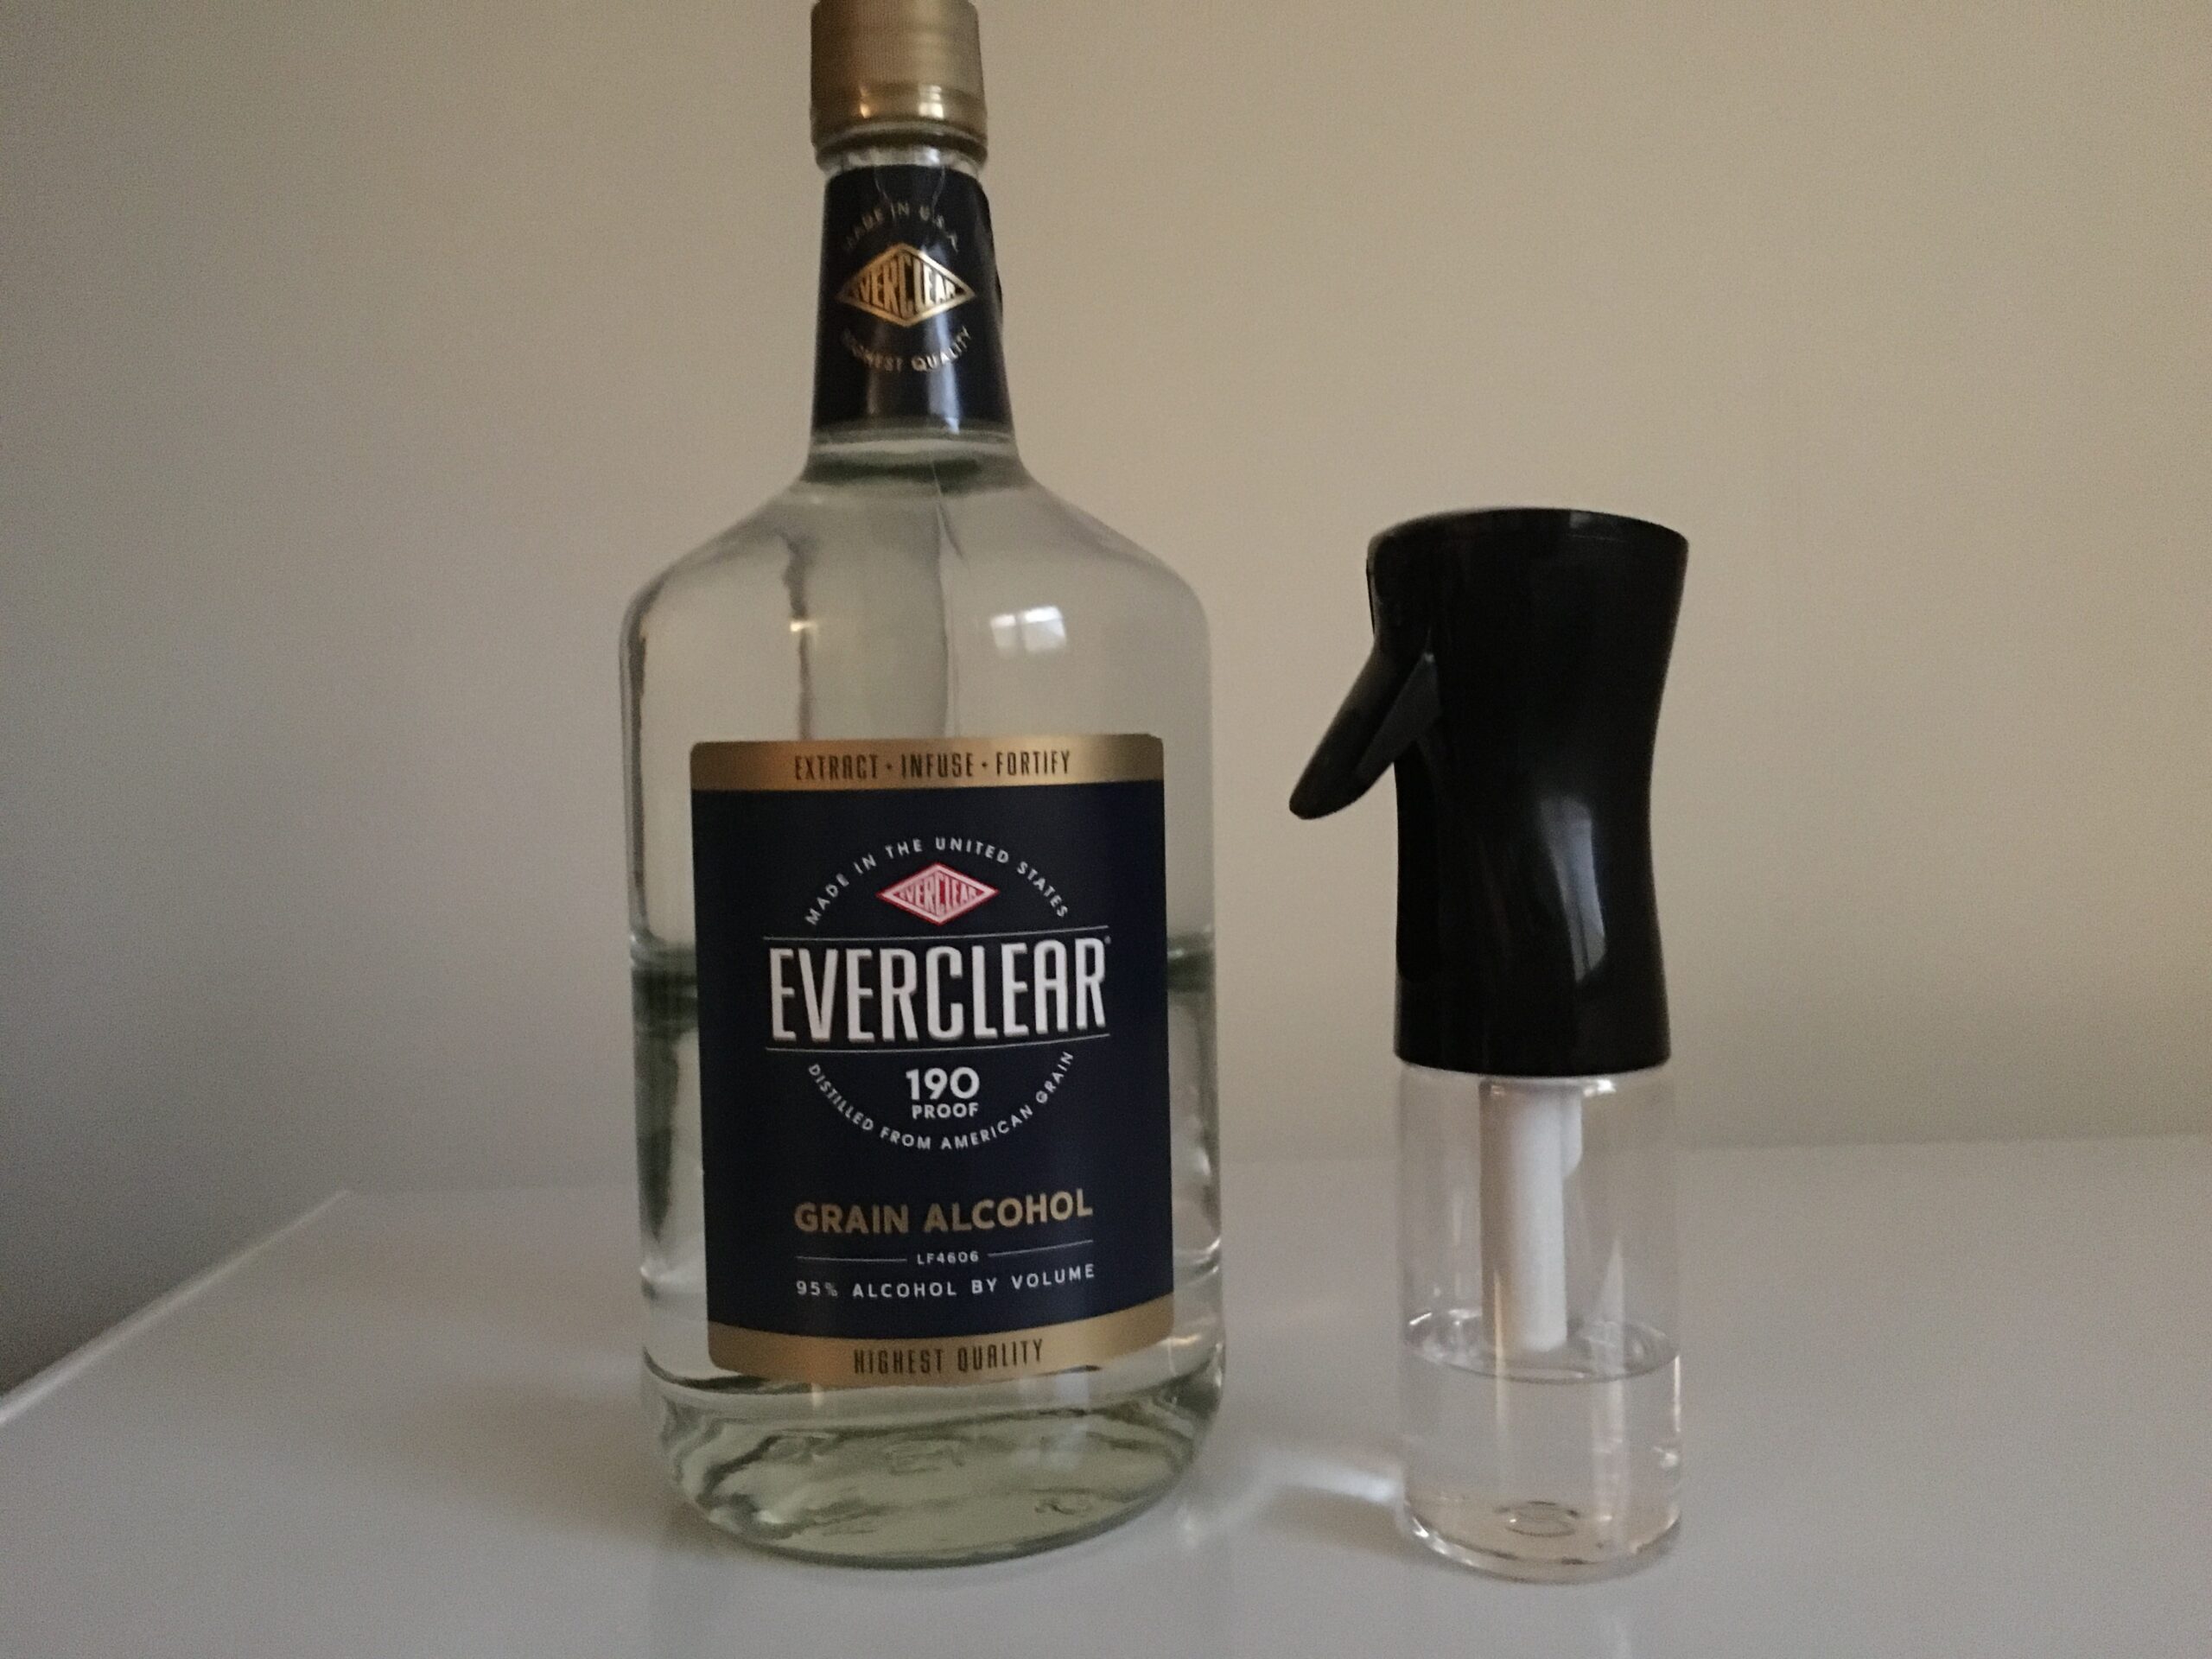
HACK: When your scissors, and tongs, and measure bowls and decarb box get sticky from cutting up bud or having bud in it, you can easily clean them off. Use a small spray bottle of Everclear 190 proof alcohol and spritz some on the scissors or other, and carefully with your fingers use the alcohol to remove the sticky. Then just rinse under water. I don’t like to use rubbing alcohol because it has other ingredients I don’t want on my hands. But regular high proof alcohol only needs a little spritz to clean off the scissors or any other cannabis tools. You can also sit the tools to soak in some too, the sticky comes right off and you can then rinse them under water and dry for the next time.
Once the box gets to 280 (or 250 for THC version), remove the box from the oven and quickly dump in the CBD plant and spread out a bit so it’s in a single layer. Press the lid down well all around the box, put the temp probe back in pressed just to the bottom (don’t puncture the bottom) and put it back in the toaster oven with the door closed. Wait again for the temp gauge to get to 260-280 degrees IN THE BOX and then set a timer for 60 minutes and let it decarb for an hour.
When it’s done, take it out of the oven and LEAVE THE LID ON and let it cool down for a few minutes (20-30) minutes until cool to the touch.
Do the same thing for the marijuana bud plant. Except use 250 to pre-heat the box, put the cut up THC bud in the box with the lid pressed all around, wait for the probe-in-the-box to get back to 230-250 and only decarb for 30 minutes instead. The THC is more delicate to activate than the CBD plant. Let the decarbed plant cool down, WITH THE LID STILL ON before infusing.
TO INFUSE your decarbed plant materials into the coconut oil:
Here is an 8 minute video showing the infusing step using a small batch amount of everything:
To do the infusing:
Scoop a cup and a half or so (no need to press down or hard measure) of hardened coconut oil into a 2 cup glass measure cup and set it in the toaster oven on low to melt.
Once it’s melted, pour the melted amount of coconut oil you need (8.5 oz.) into a fresh glass measure cup and you will then be adding your already decarbed plant material that you made ahead.
Once both the THC and the CBD plant are decarbed and cool, add BOTH of them TOGETHER to the 8.5 oz of melted coconut oil in a 1-cup or 2-cup glass measuring cup.
Securely put a double layer aluminum foil around the cup top. It needs to be covered to infuse properly.
I then gently punch my decarb box thermometer probe into the cup sticking out of the tin foil so I can check the temps inside the cup while it infuses.
NOW: Temps and timing of the infusing step will give you varying results. The video I made above talks about using 210-220 for 2-3 hours to infuse. This temp range and 3 hour timing will turn some of the THC into CBN– a more sedative (stronger/more prone to getting high) medicine. In addition, this medicine will have a stronger “savory” (or marijuana) taste and smell to it.
If temperature and timing can be better controlled (using a working temperature probe and a toaster oven with lower temperature controls that are stable), many people instead like to infuse at only 160-170 degrees for 2 hours max. This keeps the THC more intact for pain remediation without getting too drowsy. It also imparts a more delicate taste to the finished medicine.
So: Put the covered cup and temp probe back in the toaster oven and heat at 160-170 degrees—internal to the cup temp— for 2 hours MAX, starting when the probe hits 150 start counting the 2 hours max and don’t let the internal-cup-temp get over about 170-180. It can take sometimes almost an hour to get up to 150-160 but don’t start counting the 2 hours until the temp is at least 150.
Shut off the heat and remove the infusing cup and start to strain it if you have left it infusing 160-170 or so, or let it sit cooling down for another 20-30 minutes if you have been infusing to 220, but not to solidify the coconut oil at all.
The straining part should begin as soon as the cup can easily be handled with a light potholder.
The coconut oil will begin to slightly cool even as you do the straining step and it needs to remain warm all the way through to decanting the medicine into the small final storage jars.
And DO NOT RE-HEAT this if it solidifies or it will ALL turn to CBN, be a highly sedative, stinky, medicine! So plan accordingly to filter it immediately after the 2 hour mark when it is still warm.
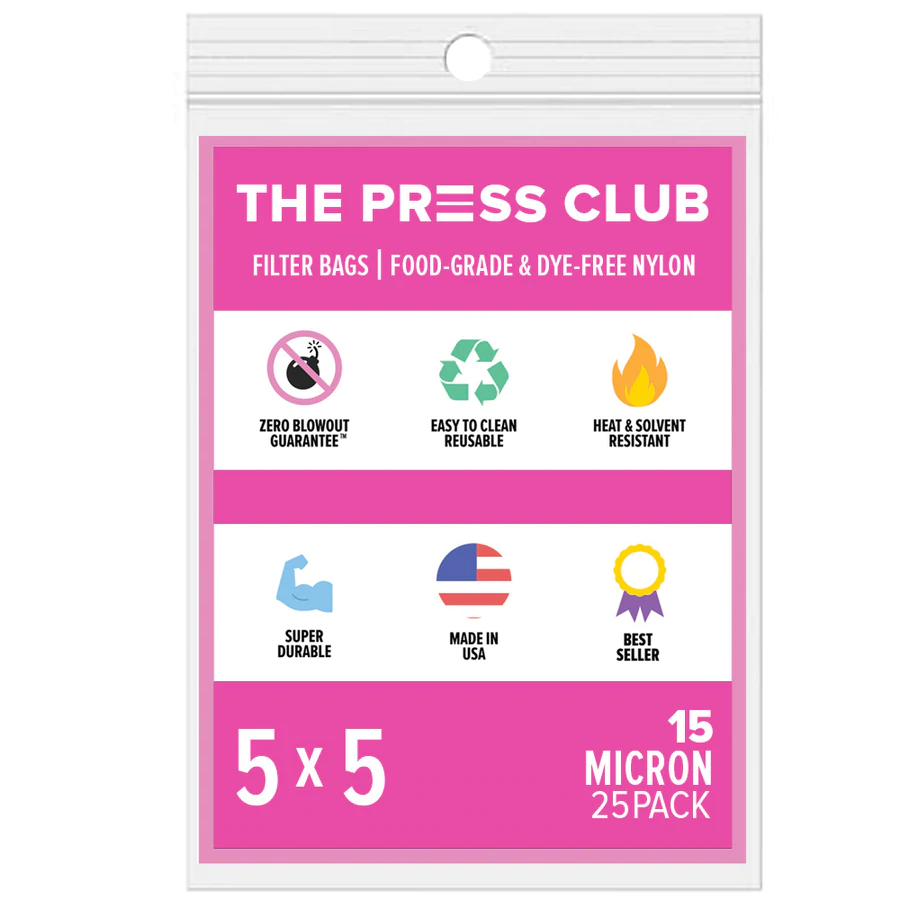
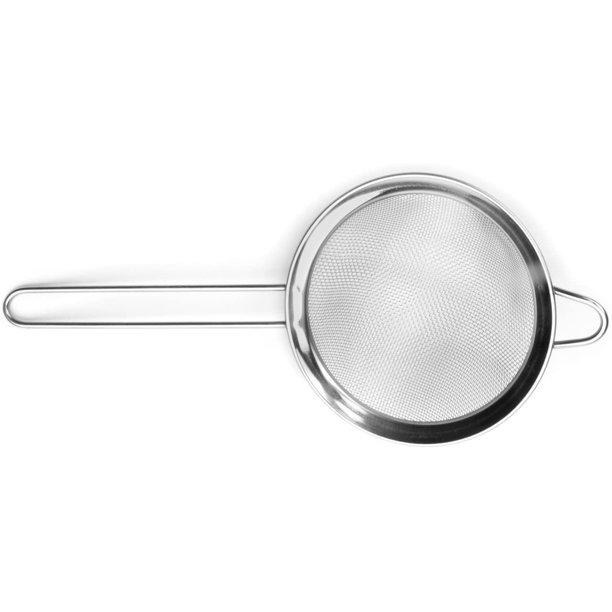
To filter it, have ready SEVERAL paper towels, another glass measure cup, your small fine mesh strainer and at least two of your nylon press bags. Put on some nitrile or vinyl gloves.
HACK: If your hands are crippled like mine, I use oversized nitrile or vinyl gloves. They will be more floppy but they still work for this purpose and get on and off easier.
Put the hand mesh strainer over the empty glass cup.
Put the nylon press bag in the strainer. I like to fold down the top just slightly forming a collar.
Pour all the oil and plant through the nylon bag. The strainer will support the bag. Use one hand to pour, and the other to steady the opening of the press bag.
At the end be very careful not to spill any medicine with plant material over the side of the press bag but get all the plant scooped into the bag and using one hand, scoop out any remaining oil from the infusing cup you can.
When all the oil seems to have drained through, pick up the press bag and gently hold the top really closed and with the other hand press and smooth out the last of the oil drops into the cup.
You can let the bag then sit in the strainer over this cup with the plant for awhile to finish dripping out as much oil as it can and then finish pressing anything else out again.
There is a lot of sludge left in the bag so be careful not to contaminate your final product with any overflow.
If you do, just use a fresh nylon press bag and 2nd filter just the already pressed out oil again. Many people just count on re-straining it anyway as they decant into the small storage jars.
Best is to always be sure to use the very fine mesh “25 micron size” to get out as many/most/often all of the sharp plant material from the final medicine.
Lay any greasy anything onto paper towels you will clean up later.
Some of the finished medicine can smell very savory depending on the type of raw plants used and timing and temps of your infusions. DO NOT LICK LEFTOVER DRIPS of MEDICINE from your fingers, bottom of cups or containers and spoons. YOU CAN INADVERTANTLY GET REALLY HIGH WITH AN UNKNOWN AMOUNT OF MEDICINE!
But take the precious liquid, you should have a full 8 oz. now fully filtered that’s in that 2nd glass measure cup and gently pour it into your clean storage jars, put the lids on, set on top of potholders or a folded towel in the freezer to set up.
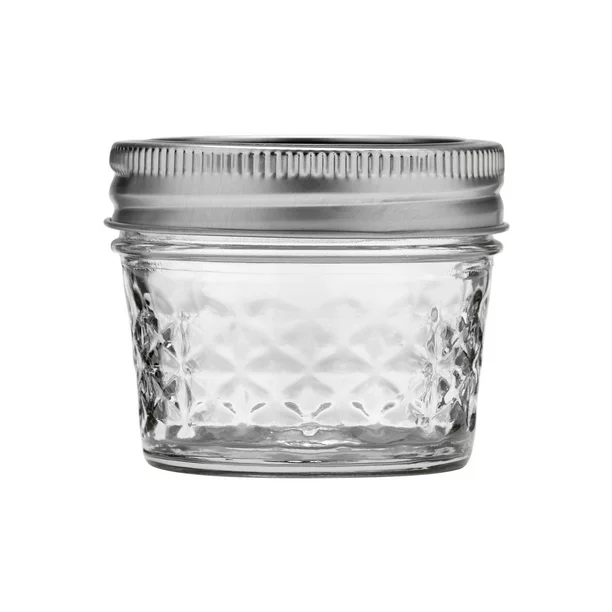
Most get the wide-mouth Mason 4 oz. jars and fill those only up to the bottom rings, or half way. That way most of the medicine will stay fresh in the freezer nearly indefinitely as a small amount (2-3 ounces) is taken out as it’s used.
This filling the jars only 1/2 half-way, or leaving a bit of room at the top of the jars etc. is ALSO important to allow for freezing expansion. This warm medicine/warm jar is immediately put into the freezer and we want to prevent breakage at all costs after the time and expense of making this.
Setting the final jars of medicine in the freezer to quickly harden will help solidify the infused medicine in the fastest way while keeping all homogenized.
You can let it harden on a countertop but it could take awhile. I have had the infusion harden with slightly different colors in layers, meaning something has possibly separated when hardening it on a counter.
But putting it in the freezer will harden it fast. Then even though you will be leaving it out room temp to use it, it will stay hardened and nothing will separate.
Be sure to set your filled glass jars on a potholder or cloth under them on the freezer shelf so nothing breaks of your possibly warm glass medicine jars sitting on a freezing shelf with different temperatures.
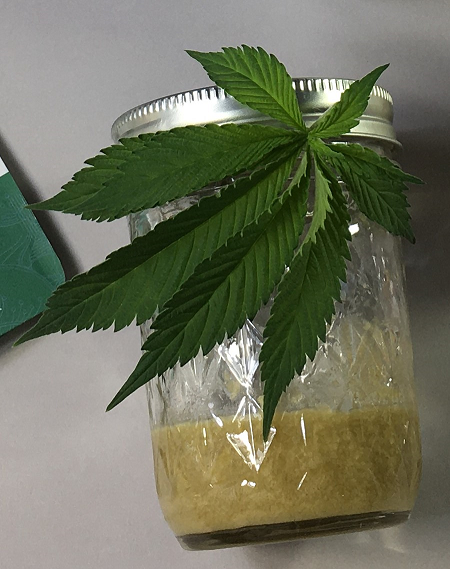
NOTE: The infused warmish liquid will look amber color but when it hardens will be green.
Use paper towels to wipe out both your greasy glass cups and press out as much oil from your press bag into the paper towel so not much clean up oil gets down the drain.
Use hot soapy water and clean up the cups and you can soap up and wash the press bags and dry them and re-use the press bags any number of times (or toss them away of course with the spent plant material).
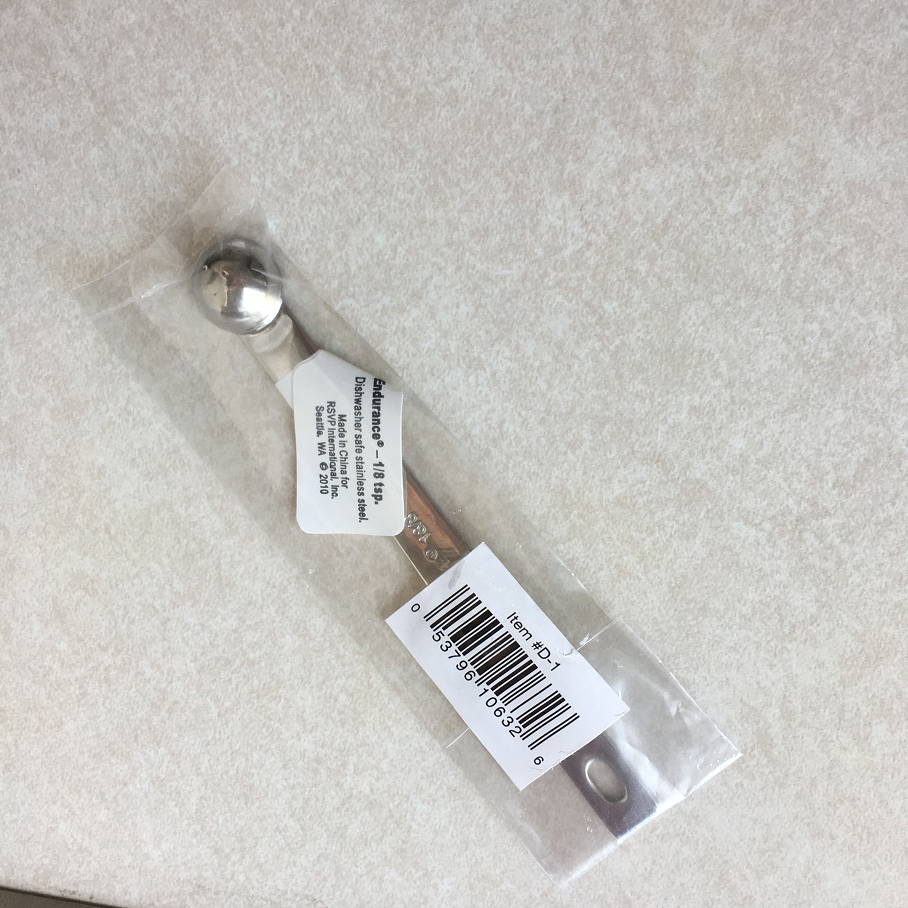
A FULL dose of this recipe of coconut oil/cannabis is about 1/8th teaspoon and it will have about 4 mg THC plus or minus in a dose.
A “spice spoon” can usually be found that equals 1/8th teaspoon.
An 8 ounce amount will have about 384, 1/8th teaspoon servings in it, with about 4 mg THC and about 2-3 mg CBD in one serving of 1/8th teaspoon.
Do not put your bare fingers or an already used utensil back into the recipe jar. Only use a clean utensil for each dose. See other notes about this under nitrile gloves in the Recipe Equipment article. Putting your fingers or a used spoon or other used utensil back into the medicine jar for the next dose could otherwise change the chemical structure of the remaining medicine for the remaining doses.
Now that you have your medicine in hand, see How to Dose TCH Cannabis for setting up your tolerance break days off, conditioning your body against side effects and finding your optimal dose amount.
Always keep ALL your infused medicine, plant and decarbing and other cannabis equipment OUT OF THE REACH or CURIOSITY of CHILDREN or PETS.